You press the button on your garage door remote and... nothing. Or maybe the opener hums but the door won't budge. Perhaps it starts to close, then reverses right back up. Whatever the symptom, a garage door opener that stops working is one of the most frustrating problems a homeowner can face — especially when you're trying to get to work on a cold Framingham morning.
The good news? Most garage door opener failures have straightforward causes, and many can be diagnosed without special tools. At JOE Garage Door Repair, we've serviced thousands of openers across Framingham and MetroWest Massachusetts, and we've seen every failure mode there is. This guide walks you through the most common reasons your opener has quit — and exactly what to do about each one.
1. Power Supply Issues
It sounds obvious, but the single most common reason an opener stops working is that it lost power. Before you assume the worst, check these three things:
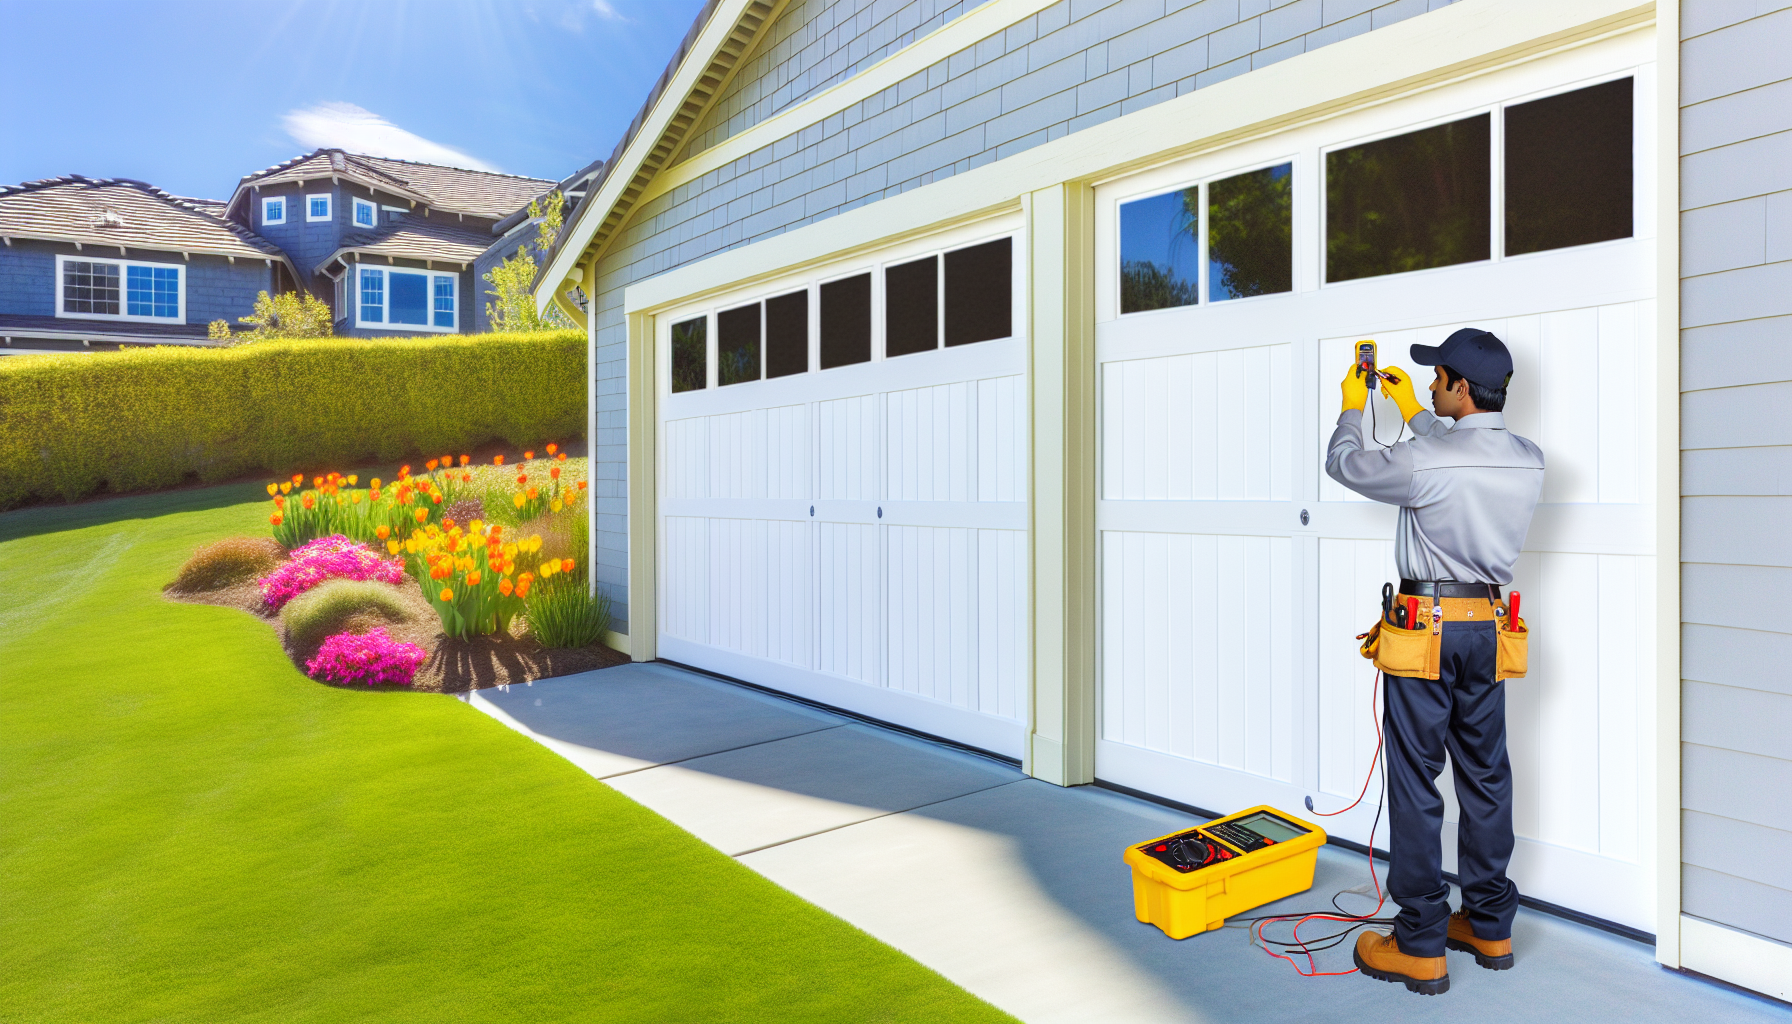
The outlet itself. Garage door openers plug into a standard 120V outlet, usually mounted on the ceiling near the motor unit. These outlets can work loose over time from vibration, or the plug may have partially slipped out. Climb a ladder and confirm the plug is fully seated. Then test the outlet with something you know works — a phone charger or a lamp. If the outlet is dead, the issue is upstream.
The circuit breaker or fuse. Head to your electrical panel and look for the breaker labeled "garage" or "garage door." If it's tripped (sitting in the middle position), flip it fully off and then back on. In older Framingham homes with fuse panels, check for a blown fuse. If the breaker trips again immediately, you may have a short in the wiring or the opener motor itself — that's a call-a-pro situation.
Battery backup. Many modern openers from LiftMaster, Chamberlain, and Genie include a battery backup that kicks in during power outages. These batteries last 1–3 years. If your opener beeps intermittently or the battery LED on the unit is flashing, the backup battery may be dead. While the opener will still work on AC power with a dead backup battery, some models display error codes or behave erratically until the battery is replaced.
2. Remote Control Problems
If the opener's motor unit has power (the ceiling light works when you press the wall button) but the remote won't trigger it, the problem is almost certainly with the remote itself. Here's a systematic approach to garage door remote troubleshooting:
Dead batteries. This is the #1 remote issue we see. Most remotes use CR2032 coin batteries or AAA batteries that last 1–2 years. If the remote's LED doesn't flash when you press the button, swap the batteries first.
Remote needs reprogramming. Remotes can lose their programming after a power surge, when the opener's logic board is reset, or sometimes for no apparent reason. Each opener brand has a specific reprogramming sequence — typically involving the "Learn" button on the back of the motor unit. Check your owner's manual, or call us and we'll walk you through it over the phone.
Range issues. If your remote only works when you're standing directly under the opener, the problem could be a damaged antenna wire (the short wire hanging from the motor unit), RF interference from nearby electronics, or LED light bulbs. Certain LED bulbs emit frequencies that interfere with garage door remotes operating at 315 MHz or 390 MHz. Try switching to opener-rated LED bulbs or incandescent bulbs as a test.
Multiple remotes failing. If every remote in the household stopped working at once, the issue is likely on the opener's receiving end — a damaged antenna or a failing logic board — rather than the remotes themselves.
3. Safety Sensor Misalignment or Obstruction
Federal law has required photoelectric safety sensors on all residential garage door openers manufactured after January 1, 1993. These sensors sit about 6 inches off the ground on either side of the door opening and project an invisible infrared beam between them. If the beam is broken — by a child, a pet, a bicycle, or even a cobweb — the opener will refuse to close the door.
How to check alignment: Look at the LED lights on each sensor. The sending sensor (usually with an amber/yellow LED) should glow steadily. The receiving sensor (usually green) will blink if it's not picking up the beam. Gently adjust the sensor bracket until both lights are steady.
Common culprits: Vibration from daily door operation gradually shifts sensors out of alignment. Lawn equipment bumping a sensor. Spiderwebs across the beam path (extremely common in New England garages). Direct sunlight hitting the receiving sensor, overwhelming the infrared signal — this often causes the door to work fine in the morning but refuse to close in the afternoon.
Wiring problems: The sensor wires run from each sensor back to the opener motor unit. These thin wires get stepped on, pinched by ladders, or chewed by rodents. If the LEDs on one or both sensors are completely off, check the wiring for breaks or disconnected terminals.
4. Stripped Gears Inside the Opener
This is the classic "my opener hums but the door doesn't move" scenario. Inside every chain-drive and belt-drive opener is a set of gears — typically a small metal worm gear driving a larger nylon main gear. Over years of use, the nylon teeth wear down and eventually strip completely. When that happens, the motor spins but can't transfer any force to the drive mechanism.
You'll often hear a grinding or whirring sound that's different from the normal operating noise. Some homeowners notice plastic shavings or gear fragments inside the opener housing. Gear kits are available for most major brands (Chamberlain, LiftMaster, Craftsman, Genie), and a qualified technician can replace them on-site in about 45–60 minutes. This is a very common garage door opener repair and usually costs significantly less than a full opener replacement.
5. Logic Board Failure
The logic board (also called the circuit board or control board) is the brain of your garage door opener. It processes signals from remotes and wall buttons, controls the motor, manages safety sensor input, and handles travel limits. When it fails, symptoms can be unpredictable: the opener may not respond at all, it may open but not close, the lights may flash in unusual patterns, or it may randomly activate on its own.
Logic boards fail due to power surges (common during New England thunderstorms), age-related component breakdown, or moisture exposure. Lightning doesn't have to strike your home directly — a nearby strike can send a surge through your electrical system that fries the board. If you suspect a logic board issue, a surge protector on the opener's outlet is cheap insurance going forward. Replacement boards are available for most openers, and installation takes about 30 minutes.
6. Broken Springs — the Hidden Cause
Here's something many homeowners don't realize: your garage door opener is not what lifts the door. The springs do the heavy lifting — literally. Torsion or extension springs counterbalance the door's weight (typically 130–200 lbs for a standard double door) so the opener only needs to supply a few pounds of force to get things moving.
When a spring breaks, the full weight of the door suddenly falls on the opener. Most openers are rated for about 10–15 lbs of lifting force — nowhere near enough to handle a 150 lb door. The opener will strain, hum, and either trip its internal thermal overload protection or strip its gears trying.
How to tell if a spring broke: Look at the torsion spring(s) above the door. A broken spring will have a visible gap in the coil, usually near the center. You may have heard a loud bang — like a gunshot — from the garage when it broke. The door will feel extremely heavy if you try to lift it manually after disconnecting the opener.
Important: Never attempt to replace garage door springs yourself. They are under extreme tension and can cause serious injury or death if mishandled. This is always a job for a trained professional. If you suspect a broken spring, call for emergency garage door repair right away.
7. Track and Roller Issues Causing Resistance
Your garage door rides on a pair of vertical and curved tracks guided by rollers. When tracks become bent, misaligned, or clogged with debris, or when rollers wear out and seize, the door creates more resistance than the opener can overcome. The opener may start the door moving but stall partway, reverse unexpectedly, or refuse to operate at all once its force limit is exceeded.
Bent tracks are common after someone backs into the door or a heavy object falls against a track. Even a small bend can cause the door to bind. Worn rollers — especially the cheap stamped-steel variety that come standard on many doors — develop flat spots and seize after 5–7 years. Upgrading to 13-ball nylon rollers dramatically reduces friction and noise, and they typically last 15+ years.
Lack of lubrication is another frequent culprit. Metal rollers, hinges, and the opener's chain or screw rail need periodic lubrication with white lithium grease or silicone spray (never WD-40, which is a solvent, not a lubricant). A dry system forces the opener to work harder, shortening its lifespan.
8. Wall Button and Wiring Problems
The hardwired wall button (also called the wall console) connects to the opener via low-voltage wiring, usually 22-gauge bell wire. If the wall button doesn't work but the remote does, the issue is in the button or its wiring. If neither the wall button nor the remote works, the problem is likely in the opener itself.
Testing the wall button: Disconnect the two wires from the back of the wall button and briefly touch them together. If the opener activates, the wall button is faulty and needs replacement (they're inexpensive — usually $15–$40). If nothing happens, the issue is in the wiring between the button and the opener, or in the opener's terminal connections.
In older Framingham homes, wall button wiring may run through the garage's framing, where it's susceptible to nail damage, staple punctures, or rodent chewing. Running new wire is a straightforward repair but does require fishing wire through walls or running it externally with cable clips.
When to DIY vs. Call a Professional
Not every opener issue requires a service call. Here's a practical breakdown:
Safe to DIY:
- Replacing remote batteries
- Reprogramming a remote to the opener
- Checking the power outlet and circuit breaker
- Clearing obstructions from sensor beam path
- Gently adjusting sensor alignment
- Lubricating the chain rail, rollers, and hinges
- Replacing the wall button
Call a professional:
- Broken torsion or extension springs
- Stripped gear replacement inside the opener
- Logic board diagnosis and replacement
- Bent track repair or realignment
- Cable replacement
- Any repair involving the door's counterbalance system
- Electrical issues beyond a tripped breaker
Attempting spring or cable repairs without proper training and tools is genuinely dangerous. These components store enormous mechanical energy, and a single mistake can result in catastrophic failure. The cost of a professional repair is a fraction of an emergency room visit.
Why Framingham Homeowners Trust JOE Garage Door Repair
When your garage door opener fails, you want someone who shows up fast, diagnoses accurately, and fixes it right the first time — without unnecessary upselling. That's exactly what we deliver at JOE Garage Door Repair.
Same-day service: Call us before noon and we'll be at your Framingham home the same day. Our trucks are stocked with parts for all major opener brands, so most repairs are completed in a single visit.
Upfront pricing: We quote a firm price before we start work. No surprises, no hidden fees. You approve the cost before we turn a wrench.
Experience you can trust: Our technicians have repaired and installed thousands of garage door openers across Framingham, Natick, Ashland, Sudbury, Wayland, and the entire MetroWest area. We know the common failure patterns in this region — from surge damage during nor'easters to sensor issues caused by New England humidity and temperature swings.
Warranty-backed work: Every repair comes with a warranty on parts and labor. We stand behind our work because we're a local business that depends on repeat customers and word-of-mouth referrals.
Whether you need a quick sensor realignment, a gear kit replacement, or a completely new opener installation, we're here to help. Contact us or call (508) 665-1917 to schedule your repair today.